Last weekend I decided to put in a loft under my deck so I can stow my bilge pump. I do not like having stuff on my deck and now that I seek out rough water I do not want stuff on my deck.
To be honest I rarely use the pump. If I come out and it is to rough for an assisted dump, I re-enter and roll and go to where I can dump my kayak. But, I understand that there will be a time when I wished I had my pump.
Lately I kept it in the back hatch on the top of my gear. Not an ideal place to keep your pump and I keep my float behind the seat but it gets away in a rough water exit. A loft seems like a good idea. But I hate the knee tubes so, I was thinking a bungee loft. Then I thought if I used mesh I could keep snacks and things there but they could be lost if I pulled out the pump.
Then I remembered my old Camelbak pack. I have 2 newer ones and this one was in a pile of stuff I kept in case I could find a use for it.

I pulled it out and it appears to be the perfect size. The pump fits nicely in the front lashings. It will hold a few small things like snacks an ouch pouch (small personal first aid kit) and an emergency kayak repair kit. Light use but stuff I want easy access to.

I decided that I did not want to cut the straps off. The pack whole could be useful in an emergency/survival situation. After some thinking I decided to use grommets and bungee.

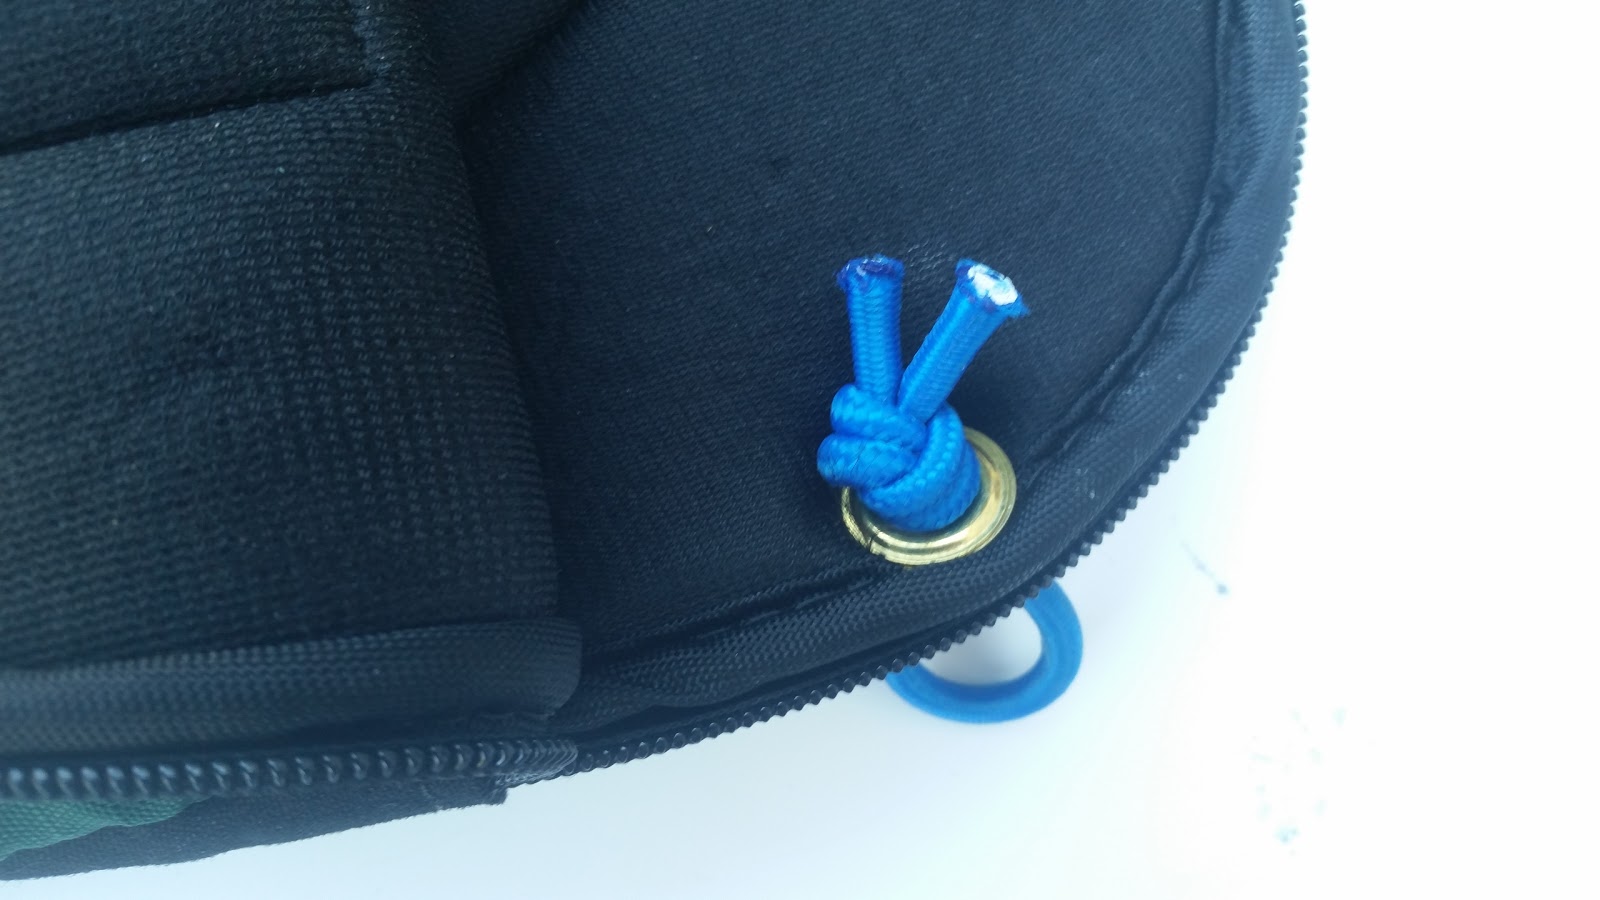
I placed 4 grommets near the corners on the back side and made bungee loops to pass through the holes.

Next I needed to plan on a way to attach it. I epoxied 4 vinyl hooks to the top of the kayak. This makes for easy installment and removal. And I can use the same hooks to attach a small bungee cargo net if I so choose.


It has worked out as expected. It goes in easily and stays flush to the top of the kayak.

It takes up little space and is not in my way when I am getting in adn out of the kayak (at least while it is sitting on the garage floor.

It holds the equipment and the cargo well. It is fully loaded with everything I would carry in it and I can still get in and out of the kayak without noticing it.
Total cost was $2.49 plus tax for the vinyl hooks. The rest was stuff I had on hand. Realistic cost without the Camelbak case around $5 in materials.

Now I need to test it in actual use. Will it be in the way during a reenter and roll. I do not believe so. The explorer has more leg room than my other kayak. But these things you never know until you try them.
And while I was hammering grommets I decided to make some attachment tabs for my hatches. I made some for my wife ( http://theloraxswife.blogspot.com/ ) a while back and they have worked great for her.

Since winter is coming I will be doing some indoor classes. We found a great indoor venue so, Capital City Kayak will be doing an introduction to navigation course, we will sponsor a Wilderness First Aid course and have an emergency preparedness course that will cover emergency repair kits (and how to use them), survival kits and equipment you should have with you when you kayak. In the spring we will expand on this with a course "When it all goes south". I use to teach wilderness survival and thought I would bring that knowledge to our local kayaking community.
That's all for now.
No comments:
Post a Comment